Barre Chords

E Shape Barre Chords

Change Fingering First

Because barre chords are like creating a temporary capo with our index finger, this means we are playing a known chord with the rest of our fingers. The most common shape barre chord is the E Shape. Normally the E chord is played with fingers 1, 2, and 3 like this:

Free Up Barre Finger

But we need to “free up” our index finger to use as a temporary capo, so we will use fingers 2, 3, and 4 like this:


Slide Up the Fret

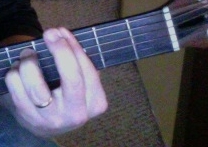
Next we will slide our new E chord shape up one fret, then place our index finger across all strings in the FIRST fret. This will give us the major chord that is one half step higher than the E chord, the F chord. Below is how we play the F chord as an “E shape barre chord”.

F Barre Photo

Follow the Chromatic Scale

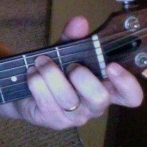
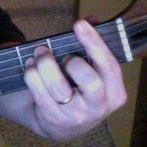
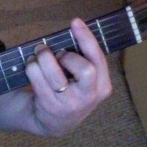
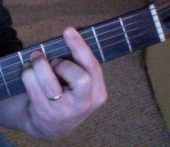
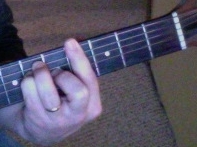
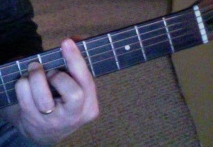
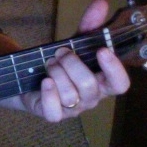
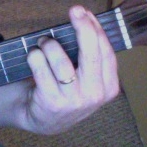
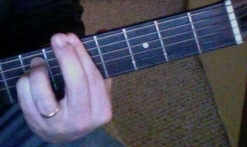
We can take this same shape and ascend by one fret at a time, or half step increments. The pictures show how the E shape barre chord in the 2nd, 3rd, 4th, and 5th frets create the F#, G, G# and A major chords respectively. Click on the navigation controls to see the different photos.

F# Barre

E shape

(2nd fret)

G Barre

E shape

(3rd fret)

G# Barre

E shape

(4th fret)

A Barre

E shape

(5th fret)

Modifying the E Shape

Any way we modify an E chord, we can modify the E shape, and alter the barre chord accordingly. By leaving off the finger on the third string, we change the E major to an Em. We can apply this to the E shape barre chords. Sometimes we will call this the “Em shape”. Look at the images:

Fm Barre

Em shape

(1st fret)

Gm Barre

Em shape

(3rd fret)

Am Barre

Em shape

(5th fret)

My Store

You can support this page by making your music purchases through this website.  All purchases are directly through Amazon, through this website.  You can make any and all of your Amazon searches and purchases here.

4 Comments

  1. have been playing the leadguitar and the box for about 4months Now and pretty wholesome with my progress maybe a bit to my knowledge of the piano but still not satisfied because things have been pretty poor at times you have really explained how and what I know but couldnt apply thank you very much

    Reply
    • Certainly! Glad to know this is helpful to you, Peter.

      Reply
  2. Images on this page are missing 🙂

    Reply
    • Fixed. Thanks!

      Reply

Submit a Comment

Your email address will not be published. Required fields are marked *

By continuing to use the site, you agree to the use of cookies. Privacy Policy

The cookie settings on this website are set to "allow cookies" to give you the best browsing experience possible. If you continue to use this website without changing your cookie settings or you click "Accept" below then you are consenting to this.

Close